
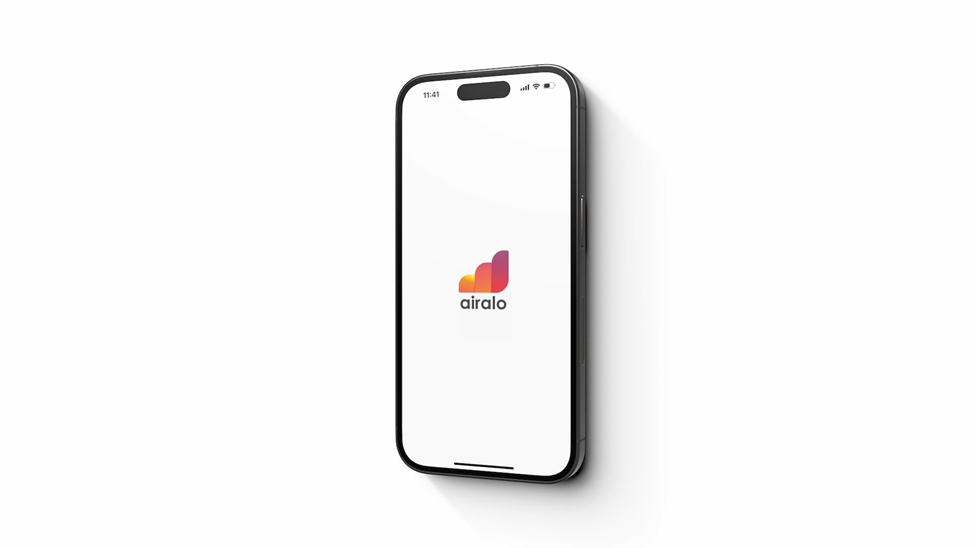
Greetings, aspiring adventurers around the globe! Imagine standing on the golden sands of the Arabian Desert. And witnessing the glittering skyline of Dubai. Or marveling at the beautiful mosques in Dubai. Sounds exciting, right? But how can you share these unforgettable experiences with your buddies back home? The answer is right here – it’s called Airalo, the best travel eSIM in the United Arab Emirates (UAE)!
Think of Airalo as a hidden superpower for your phone. It is an eSIM that lets you stay connected to the internet using data. It makes your travels across the seven Emirates or even worldwide hassle-free. No more missing out on sharing your adventures or feeling disconnected from your family and friends. In this post, we’ll dive deep into the world of Airalo and discover how it can be your trusty sidekick during your UAE travels. Let’s start this exciting journey about Airalo!
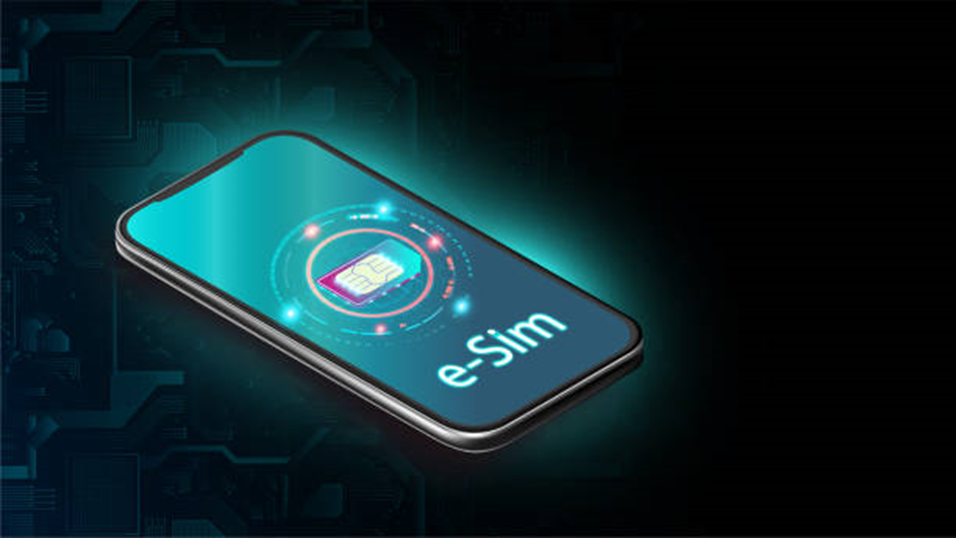
What is an eSIM?
Imagine a SIM card like a special key to your smartphone. It tells your phone company, “Hey, this is me!” This helps your phone to make calls, send texts, or surf the internet. You can also find SIM cards in other stuff, like tablets, smartwatches, or mobile hotspots.
Traditionally, SIM cards were tiny pieces of plastic with a mini computer chip. They came in different sizes: big, medium, and small. You get one from your phone company, pop it into your phone, and boom! You’re ready to chat and browse!
Now, there’s an incredible new thing called an eSIM. The ‘e’ means embeddable, meaning it can be embedded or put inside your phone. An eSIM is a programmable SIM card permanently installed inside the device. So instead of owning a physical SIM card that you insert into your device, with an eSIM, you can install the SIM card much as you would install an app.
This eSIM stuff started around 2016. When the new iPhone 14 came out, it only worked with an eSIM, no old-school SIM cards! More and more phone makers might do this too. So it seems the time of eSIMs is here, and the old plastic SIM cards might slowly disappear.
Why do you need a Travel eSIM?

Imagine you’re on a grand adventure, traveling far from home. Always check your tourist visa’s validity when traveling to countries such as the UAE. You’ll want your trusty smartphone at your side, right? It’s like your compass, helping you find panoramic places, book hotels, and even pay for bus tickets! The magic behind all this is a data plan, which lets you use the internet anywhere without hunting for free WiFi.
But what happens when you travel to another country? Things can get tricky because using your usual data plan can cost money.
Here are your main options to stay online while traveling internationally:
- Use free WiFi
- Roam with your home network provider
- Buy a local SIM card
- Buy a travel SIM / eSIM
- Use a mobile hotspot
You need to figure out the best way to stay online, which could differ depending on your phone, where you’re going, and how much time you spend online.
Sometimes, your phone company may let you use the internet for free when you’re in certain countries. That’s great! But it’s uncommon, so you might need to consider other options.
One option is getting a travel SIM or a local SIM card. Think of them like magical keys that let your phone access the internet in other countries. Usually, if your phone allows it, buying a local SIM can save you the most money. However, getting a local SIM can be tough. It’s like going on a mini-quest to find the right one, and if people there speak a different language, it can be super challenging.
That’s where travel SIMs or eSIMs come in handy. They’re like VIP passes designed for travelers that help you get online easily and for less money. These were a bit pricey in the past. But now, some companies offer better deals. One such company is Airalo.
What Products does Airalo Offer?
Airalo offers different types of eSIMs, categorized based on where you’re traveling:
- Local eSIMs: Think of these as passports to one country. These are the cheapest tickets if your trip is just to one or two countries.
- Regional eSIMs: Like a multi-country travel pass! These are super useful if you’re quickly visiting many countries in areas like Europe, Latin America, or Caribbean Islands.
- Global eSIM: This is like a golden ticket that works in about 80 popular countries! But, it only covers some countries. So, if you’re considering this one, check which countries it covers.
You can choose the validity of the eSIM card and how much data it comes from. You can decide how much data or internet use you need and how long it will last (validity). You can pick a small one with 1GB of data that lasts a week, a huge one with 20GB for a month, or even up to six months for the Global eSIM! Just remember, the options can change depending on where you’re going.
Now, if you love sharing lots of videos or pictures, or if you’re sharing your data connection with other devices, you might need a bigger one. A bit less data could be enough if you only check emails and post a few photos on social media.
Here’s a heads up, though – most Airalo eSIMs don’t include voice minutes for traditional phone calls. Don’t mind if you usually call with apps like WhatsApp or Skype using data. But if you plan on making many regular phone calls, then maybe Airalo might not be the right adventure gear for you.
How to install and set up an eSIM on an iOS device?
You can install an eSIM on your device by Direct, QR Code, or Manual methods.
Direct Method
- Open your Airalo app and navigate to the “My eSIMs” tab. There, tap on “Details.”
- From the details, tap on “Install eSIM/Access Data.”
- Look for “INSTALL eSIM” at the bottom of your screen and tap on it to start the installation process.
- You’ll see an option called “Add Cellular Plan.” Go ahead and tap on it.
- Next, give your eSIM a unique label.
- Choose which line you want to use by default for calls and messages.
- Decide on the line you prefer for iMessage & Facetime.
- Set your Airalo eSIM plan as your default for Cellular Data, and remember to keep “Allow Cellular Data Switching” turned off to avoid charges on your other line.
- Under “Cellular Plans,” find your Airalo eSIM and make sure the “Turn on this line” switch is on.
- Next, go to “Network Selection” and choose the supported network.
- Head to “Cellular Data Network” and update the “CELLULAR DATA APN” field with the APN provided on your eSIM installation page, leaving the rest of the fields empty.
- Finally, if the instructions on your eSIM installation page require it, turn on data roaming.
QR Code
- First, locate and tap on “Settings” on your device.
- Once inside settings, find “Cellular” or “Mobile” and tap on it.
- Look for the option “Add Cellular Plan” or “Add Mobile Data Plan” and select it.
- Now it’s time to scan your eSIM QR Code. Use your printed QR code or another device displaying the QR code.
- If you’re prompted to enter a 4-digit confirmation code, do so. However, you can skip this step if you still need one.
- Next, you’ll need to choose a label for your eSIM. Feel free to customize it!
- In the “Default Line” section, select your eSIM as the default for cellular data.
- Lastly, you should now see your newly added eSIM listed under your “Cellular Data” or “Mobile Data Plans.” You’re all set!
Manual Method
- Start by opening the “Settings” on your device.
- Inside settings, find and tap on either “Cellular” or “Mobile.”
- Within this menu, search for “Add Cellular Plan” or “Add Mobile Data Plan” and select it.
- Choose the “Enter Details Manually” option. Here, you’ll be asked to key in:
- The SM-DP+ Address
- Activation Code
- Confirmation Code (only if it’s available on your Airalo Account)
- Next, it’s time to give your eSIM a unique label. You can create your own customized label!
- Under the “Default Line” section, set your eSIM as the default for cellular data.
- Finally, go to “Cellular Data” or “Mobile Data Plans.” Here, you’ll find your new eSIM. Congratulations, you’ve done it!
How to install and set up an eSIM on an Android device?
You can add an eSIM to your device by scanning the QR Code or Manually adding the installation details.
QR Code
- Start by selecting the “QR Code” tab at the top of your app.
- Head to “Settings” on your device.
- Look for “Network & Internet” and tap on it.
- You’ll see a “+ Add” button or an icon next to “Mobile Network.” Go ahead and tap on it.
- When asked, “Don’t have a SIM card?” click on “Next.”
- Now, scan your QR code and enter the confirmation code if prompted.
- Return to your “Install eSIM/Access Data” screen.
- Under “Mobile Network,” find and turn on eSIM.
- Make sure to enable “Mobile Data.”
- Also, turn on “Data Roaming.” Turn off your primary line to avoid surprise roaming costs from your carrier provider when overseas.
- Return to “Network & Internet” and tap “Mobile network” to set the correct network preferences. These are listed in the “Additional Info,” located at the bottom-right of the preferred data package page.
- Set up an Access Point Name (APN) on your device if necessary. You’re all done!
By Adding Manually
- Begin by selecting the “Manual” tab at the top of your app.
- Copy the “SM-DP+ Address & Activation Code.” This is your manual installation information.
- Go to “Settings” on your device, then tap “Network & Internet.”
- Look for the “+ Add” icon next to “Mobile Network” and tap on it.
- When asked, “Don’t have a SIM card?” choose “Next.”
- Now, select “Enter Code Manually.” You’ll be asked to input the SM-DP+ Address from your eSIM installation page.
- Next, under “Mobile Network,” switch on your eSIM.
- Be sure to enable “Mobile Data.”
- Also, turn on “Data Roaming.” Remember to turn off your primary line to prevent unexpected roaming charges from your carrier provider when overseas.
- Lastly, set up an Access Point Name (APN) on your device if necessary. There you have it!
Why is Airalo the Best Travel eSim in the UAE?

So, you’re probably wondering, “Out of all the eSIMS out there, why should I choose Airalo?” Airalo is not just an ordinary eSIM when exploring the United Arab Emirates (UAE).
Imagine having a magical carpet that could take you anywhere across the seven Emirates without losing touch with your friends. That’s Airalo for you! Here’s why it stands out:
- Unmatched Coverage: Whether you’re witnessing the incredible light show at the Burj Khalifa in Dubai, strolling in the grand palaces of Abu Dhabi, or feeling the breeze at the stunning beaches of Fujairah, Airalo has got you covered. It provides flawless internet access all over the UAE. It’s like having a reliable travel companion that ensures you stay connected, come rain or shine, desert or city.
- Easy Peasy Lemon Squeezy: Setting up Airalo on your phone is simpler than assembling a Lego set. With a few taps on your screen, your eSIM will be up and running. And if you need clarification, Airalo’s super-friendly support team is just a click away to guide you.
- The choice is Yours: Airalo understands that everyone’s needs are unique. Whether you’re a light browser who needs just enough data to check your emails and update your socials, or a heavy user who wants to stream videos and play online games, Airalo has a data plan that will suit you just right.
So, Airalo isn’t just a travel eSIM; it’s a reliable, flexible, and user-friendly companion that enhances your UAE adventures and keeps you connected with the world.
Conclusion
So there you have it, fellow adventurer! We’ve explored the extraordinary Airalo travel eSIM, a nifty tool essential for your UAE travels. Think of it as your digital guide, helping you stay connected to the world anywhere.
Whether capturing the majesty of the Burj Khalifa, sharing selfies from the gorgeous places in Sharjah, or calling home from the bustling city streets of Dubai, this superhero eSIM ensures you’re never out of touch.
And the best part? You can set it up on your device faster than you can say “shish kebab”! With easy-to-follow steps and helpful support from the Airalo team, getting connected on your UAE adventure is as breezy as an Arabian night.
So next time you pack your bags for the UAE, remember to take Airalo along. Because with Airalo, you’re never alone; you’re connected. Happy traveling!
