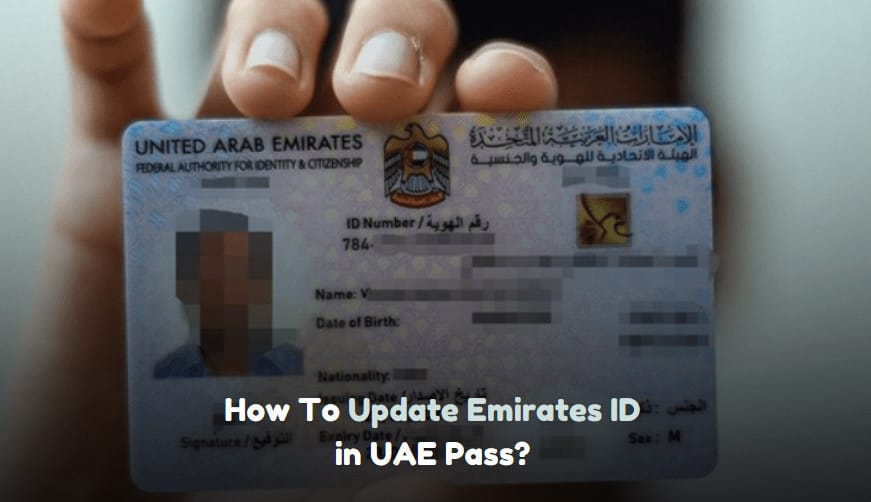
The UAE Pass is a national digital identity and signature solution that lets residents access different government services online. Keeping your Emirates ID updated in the UAE Pass is important for smooth service access and to avoid problems. This guide will help you with how to update Emirates ID in UAE Pass, offering clear instructions, important details, and useful tips.
Why Update Your Emirates ID in UAE Pass?
Updating your Emirates ID in UAE Pass is important for several reasons:
- Accuracy: Ensures your personal information is correct.
- Service Access: Grants access to various government services.
- Compliance: Keeps you compliant with UAE regulations.
How To Update Emirates ID in UAE Pass Online?
To update your Emirates ID with UAE pass using the du app, follow these steps:
- Open the du App: Launch the du app on your smartphone.
- Log In: Log in using your credentials.
- Navigate to Services: Go to the ‘Services’ section in the app.
- Select Emirates ID Update: Find and select the option to update your Emirates ID.
- Enter Details: Enter the required details, such as your Emirates ID number.
- Upload Documents: Upload the necessary documents, including a copy of your new Emirates ID.
- Submit: Review the information and submit your request.
- Confirmation: You will receive a confirmation message or email once the update is submitted.
To update your Emirates ID with UAE pass using the UAE pass app, follow these steps:
- Open UAE Pass Application
- Locate and open the UAE Pass application on your mobile device.
- Login or Create a New Account:
- If you already have an account, log in using your credentials.
- If you are new, select the option to create a new account.
- Enter Personal Information:
- Provide your Emirates ID number and other required personal information.
- Ensure the details match those on your Emirates ID.
- Verification Process:
- The application will ask you to verify your identity.
- Follow the instructions for identity verification. This may involve biometric verification, or OTP sent to your registered mobile number.
- Update Emirates ID Information:
- Once logged in, navigate to the section to update your Emirates ID information.
- Enter the new details as required.
- Submit the Update:
- After entering the updated information, review it for accuracy.
- Submit the update request through the application.
- Confirmation and Approval:
- You will receive a confirmation notification once your update request is submitted.
- The updated information will be processed and approved by the relevant authorities.
Common Issues and Troubleshooting in Updating Emirates ID in UAE Pass:
1. Issue 1: Unable to Log In:
Solution: Make sure you have the correct login credentials. If you forget your password, reset it using the ‘Forgot Password’ feature.
2. Issue 2: Verification Delays:
Solution: If verification takes longer than expected, contact UAE Pass customer support for help.
3. Issue 3: Information Mismatch:
Solution: Double-check your entered details to ensure they match your Emirates ID.
Final Takeaway:
So, that’s all about how to update Emirates ID in UAE pass. Updating your Emirates ID in UAE Pass is easy and helps keep your digital identity accurate and current. It is a straightforward yet important process for seamless access to government services. Just like having reliable life insurance dubai, keeping your Emirates ID information up-to-date ensures you avoid disruptions and stay compliant with UAE regulations. Whether you choose to update through the Du app or the UAE Pass application, following the steps provided will help you navigate the process efficiently. Should you encounter any issues, the troubleshooting tips can guide you to resolve them effectively. Keep your digital identity current to fully benefit from the convenience and efficiency of UAE Pass services.
Frequently Asked Questions (FAQs):
Q. Can I use UAE Pass on two phones?
Yes, you can use UAE Pass on up to two devices. However, only Emirates ID holders can enroll in UAE Pass.
Q. How to Update Emirates ID in Etisalat Without UAE Pass
Using the My Etisalat UAE Mobile App:
- Download the My Etisalat UAE Mobile App: Get the app from your app store.
- Log In: Open the app and log in with your credentials.
- Update Emirates ID: Go to the section for updating your Emirates ID.
- Select “Update My Emirates ID” Choose this option.
- Renewal of Registration: Follow the instructions to renew your registration.
- Review and Submit: Check your information and submit your update request.
- Verification and Status Update: Wait for verification and receive a status update on your request.
Q. What Happens if Your Emirates ID Expires?
If your Emirates ID expires, you won’t be able to travel internationally. You must renew your Emirates ID before planning any trips outside the UAE to avoid travel restrictions and problems at immigration checkpoints.
Q. Can I Access My Emirates ID Online?
Yes, you can view your digital Emirates ID online. Log in with your UAE Pass account, then select the ‘Emirates ID’ category on the homepage. Tap on your name to see the digital version of your Emirates ID.
Q. How often should I update my Emirates ID in UAE Pass?
Update your Emirates ID whenever you receive a new card or if any details change.
Q. What should I do if my update request is rejected?
Ensure all details are correct and resubmit. If issues persist, contact UAE Pass support at 600 561 111.


